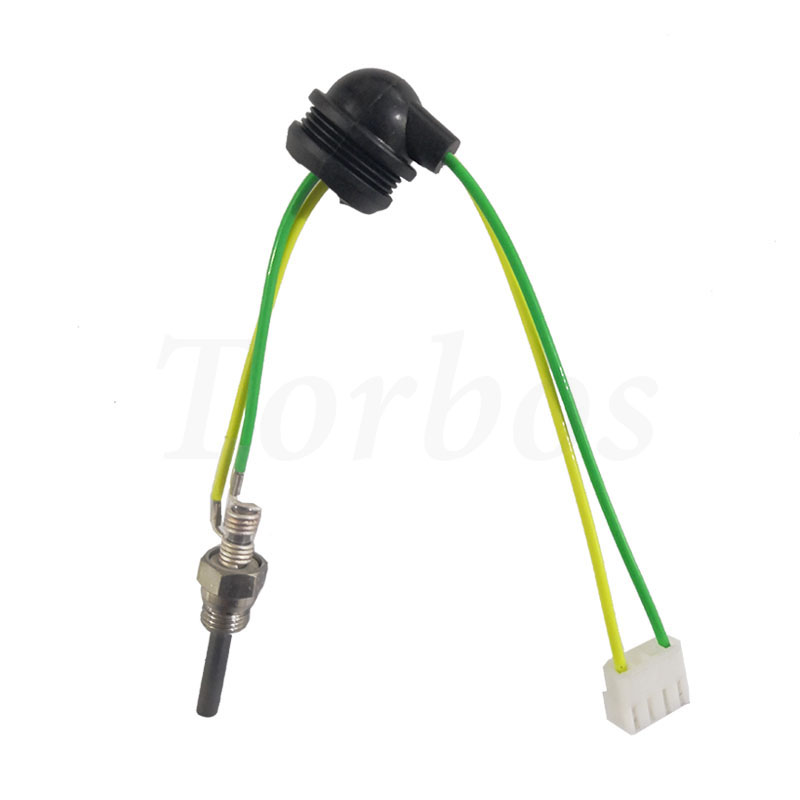
Replacing Glow Plugs
Product Description
Product Detail
Product: The Torbo® Replacing Glow Plugs
Voltage:8V
Power:75-85W
Model:TB08-45-2
Replacing your diesel engine's glow plugs is an important maintenance task to ensure efficient starting, especially in cold weather. Glow plugs preheat the combustion chamber, making it easier for the diesel to ignite. Here is a step-by-step guide on how to replace glow plugs:
Ensure safety: Park your vehicle on level ground, turn off the engine, and allow it to cool.
Disconnect the battery: To avoid electrical hazards, disconnect the negative terminal of the battery.
Access the glow plugs:
Remove the hood: If your vehicle has an hood, use the appropriate tools to remove it.
Identify the glow plugs: Glow plugs are usually located on top of the engine, near the injectors. Refer to your vehicle's manual for their exact location.
Clean the area:
Use compressed air or a brush to clean the area around the glow plugs to prevent debris from entering the combustion chamber.
Remove the electrical connections:
Carefully disconnect the electrical connector on each glow plug. Note their location for proper reassembly.
Remove the old glow plugs:
Use an appropriate socket (usually a deep-bore socket) and a ratchet to loosen and remove each glow plug. Be gentle to avoid breaking the plug, which can be a hassle to remove.
Install New Glow Plug:
Apply Anti-Seize: Lightly coat the threads of the new glow plug with anti-seize to make future removal easier.
Insert New Glow Plug: Carefully screw the new glow plug into the engine by hand, avoiding cross-threading.
Tighten Glow Plug: Use a torque wrench to tighten the glow plug to the torque specified by the manufacturer. Over-tightening may damage the threads or the glow plug itself.

